Processing hundreds or thousands of images individually is time-consuming and inefficient. Batch compression allows you to compress multiple images simultaneously with consistent quality settings, saving hours of manual work. This comprehensive guide covers everything you need to know about batch compressing images in 2025.
Why Batch Compress Images
Time Savings
Manual Processing:
- 100 images × 2 minutes each = 200 minutes (3.3 hours)
- Repetitive clicking and waiting
- Prone to errors and inconsistency
Batch Processing:
- 100 images in 5-10 minutes total
- Set once, compress all
- Consistent results across all images
Time Saved: 95% reduction in processing time
Consistency Across Images
Benefits:
- Same quality settings for all images
- Uniform file sizes
- Predictable results
- Professional appearance
- Easier to manage
Use Cases:
- Website image galleries
- Product catalogs
- Photo albums
- Marketing materials
- Social media content calendars
Common Batch Compression Scenarios
| Scenario | Number of Images | Time Saved | Typical Goal |
|---|---|---|---|
| Website migration | 500-5,000 | 15-50 hours | Reduce total size by 70-80% |
| Photo library cleanup | 1,000-10,000 | 30-150 hours | Save storage space |
| Product catalog | 100-1,000 | 3-30 hours | Consistent quality/size |
| Social media campaign | 50-200 | 2-7 hours | Platform-specific optimization |
| Event photography | 200-2,000 | 7-60 hours | Shareable sizes |
| Email marketing | 20-100 | 1-3 hours | Under size limits |
Best Tools for Batch Image Compression

Online Tools
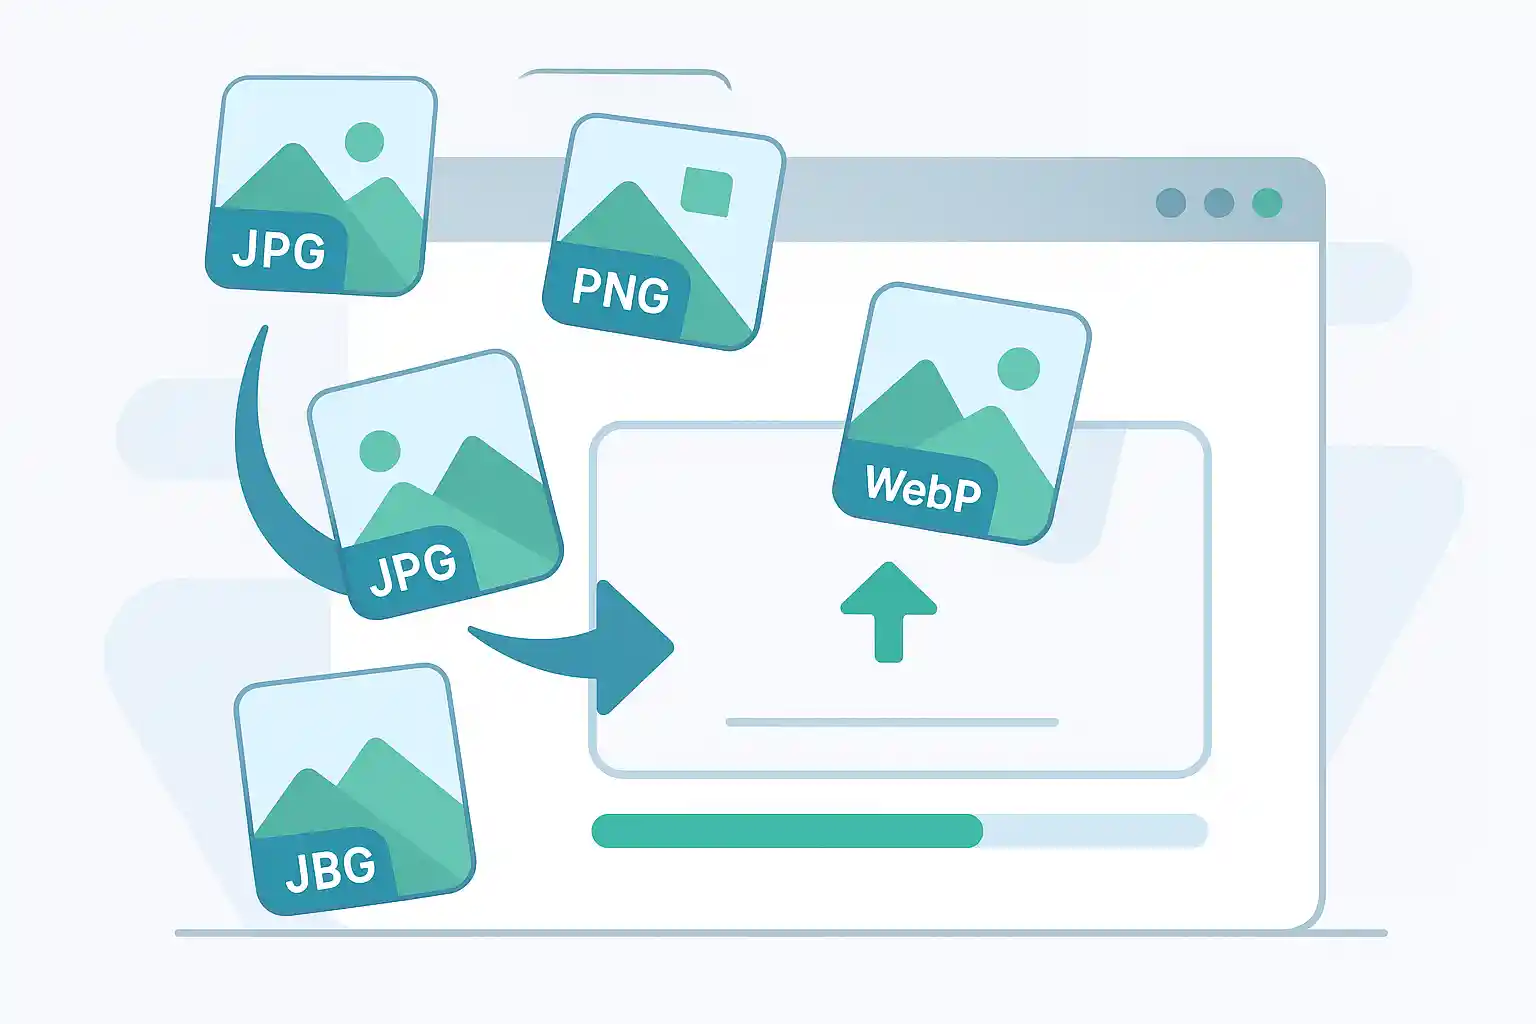
TinyImagePro (Recommended)
Features:
- Free, no registration required
- Client-side processing (privacy-friendly)
- Upload up to 20 images on desktop or 10 on mobile at once
- Adjustable quality settings
- Format conversion (JPEG, PNG, WebP)
- ZIP download for all compressed images
Workflow:
- Visit TinyImagePro.com
- Drag & drop multiple images
- Select compression level or preset
- Click "Compress All"
- Download individually or as ZIP
Best For: Quick batches on desktop and mobile, privacy-conscious users, no installation needed
Limitations: Up to 20 images per batch on desktop or 10 on mobile (repeat for larger sets)
Squoosh (Google)
Features:
- Advanced compression options
- Multiple format support
- Side-by-side comparison
- Modern codecs (WebP, AVIF)
Limitations: Processes one image at a time (not true batch)
Best For: Testing compression settings before batch processing
TinyPNG
Features:
- Smart lossy compression
- WebP support
- Batch upload (up to 20 images)
- API for automation
Pricing:
- Free: 20 images/month, 5MB each
- Pro: $25/year for 500 images/month
Best For: PNG optimization, monthly recurring batches
Desktop Software
Adobe Lightroom
Features:
- Professional batch export
- Preset-based workflows
- Quality control per format
- Metadata management
- RAW file support
Workflow:
- Import photos to catalog
- Select all images to export
- File → Export
- Choose export preset (quality, dimensions, format)
- Click Export
Pricing: $9.99/month (Photography Plan)
Best For: Photographers, large photo libraries, professional workflows
XnConvert (Free)
Features:
- Excellent batch processing
- Actions/presets
- 500+ format support
- Resize, rotate, watermark
- Cross-platform (Windows, Mac, Linux)
Workflow:
- Add files or entire folders
- Add actions: Resize, Quality adjustment
- Set output format and settings
- Convert
Best For: Power users, complex batch operations, free solution
ImageOptim (Mac Only, Free)
Features:
- Drag & drop batch processing
- Lossless and lossy compression
- Automatic metadata removal
- Multiple optimization tools combined
- Very fast processing
Workflow:
- Drag images into ImageOptim
- Automatic optimization begins
- Files are overwritten (or saved separately)
Best For: Mac users, quick optimization, lossless compression
RIOT (Radical Image Optimization Tool) - Windows, Free
Features:
- Real-time preview
- Batch processing
- Multiple format support
- Quality comparison
Best For: Windows users, visual quality control
Command Line Tools
ImageMagick
Installation:
# macOS
brew install imagemagick

# Ubuntu/Debian
sudo apt-get install imagemagick

# Windows
# Download from imagemagick.org
Basic Batch Compression:
# Compress all JPEGs in folder to 80% quality
mogrify -quality 80 -strip *.jpg

# Resize and compress
mogrify -resize 1600x -quality 80 -strip *.jpg

# Process subfold also
find . -type f -name "*.jpg" -exec mogrify -quality 80 -strip {} \;
Advanced Batch Processing:
# Convert all PNG to optimized JPEG
mogrify -format jpg -quality 85 -strip *.png

# Resize to max width, maintain aspect ratio
mogrify -resize 1920x\> -quality 82 *.jpg

# Create thumbnails in separate folder
mkdir thumbnails
mogrify -path thumbnails -thumbnail 400x400 -quality 75 *.jpg
Best For: Automation, server-side processing, advanced users, scripting
cwebp (Google WebP Encoder)
Batch Convert to WebP:
# Convert all JPEGs to WebP
for file in *.jpg; do
    cwebp -q 80 "$file" -o "${file%.jpg}.webp"
done

# Windows PowerShell
Get-ChildItem -Filter *.jpg | ForEach-Object {
    cwebp -q 80 $_.FullName -o "$($_.BaseName).webp"
}
Best For: WebP conversion, modern web optimization
pngquant (PNG Optimizer)
Batch PNG Compression:
# Lossy PNG compression (256 colors)
pngquant --quality=65-80 --ext .png --force *.png

# Batch process with custom output
pngquant --quality=70-85 *.png --output optimized-*.png
Best For: PNG file size reduction, maintaining transparency
Step-by-Step: Batch Compress Images
Scenario 1: Website Image Gallery (100 images)
Goal: Reduce 100 product photos from 5MB each (500MB total) to under 100MB
Method: TinyImagePro + Manual batches
Steps:
-
Organize Images
/products ├── batch-01 (images 1-20) ├── batch-02 (images 21-40) ├── ... └── batch-05 (images 81-100) -
Process First Batch
- Upload up to 20 images on desktop or 10 on mobile to TinyImagePro
- Set quality: 80%
- Target dimensions: 1600×1600px
- Click "Compress All"
- Download as ZIP
-
Repeat for All Batches
- Process batches 2-5
- Maintain consistent settings
- Download each batch
-
Verify Results
- Check file sizes (target: 800KB-1MB each)
- Spot-check image quality
- Total size: ~90MB (82% reduction)
Time Required: 30-45 minutes (vs. 3+ hours manual)
Scenario 2: Photo Library Optimization (1,000 vacation photos)
Goal: Reduce 1,000 family photos from 35GB to under 10GB for cloud storage
Method: XnConvert (Desktop)
Steps:
-
Download and Install XnConvert
- Download from xnview.com
- Install and launch
-
Add Files
- Input tab → Add Files
- Select all 1,000 photos (or Add Folder)
-
Configure Actions
- Actions tab → Add Action
- Action 1: Resize
- Mode: Fit to width/height
- Width: 1600px
- Keep aspect ratio: Yes
- Action 2: Adjust Quality (if JPEG)
- Quality: 80%
-
Set Output Options
- Output tab
- Format: JPEG
- Quality: 80
- Destination: Create folder "optimized"
- Filename: {Filename}_optimized
-
Process
- Click "Convert"
- Wait for batch to complete (10-20 minutes)
-
Verify
- Check output folder
- Total size: ~9.5GB (73% reduction)
- Spot-check random images for quality
Time Required: 30 minutes (vs. 30+ hours manual)
Scenario 3: Social Media Content Calendar (50 posts)
Goal: Prepare 50 images for Instagram (1080×1080px, optimized quality)
Method: Command-line batch script
Steps:
- Create Batch Script
Mac/Linux (instagram-batch.sh):
#!/bin/bash

# Create output directory
mkdir -p instagram_optimized

# Process all images
for file in *.jpg *.jpeg *.png; do
    if [ -f "$file" ]; then
        # Resize to 1080x1080 and compress
        convert "$file" \
            -resize 1080x1080^ \
            -gravity center \
            -extent 1080x1080 \
            -quality 82 \
            -strip \
            "instagram_optimized/${file%.*}_insta.jpg"
        echo "Processed: $file"
    fi
done

echo "Batch complete! Check instagram_optimized folder"
Windows (instagram-batch.bat):
@echo off
mkdir instagram_optimized

for %%f in (*.jpg *.jpeg *.png) do (
    magick "%%f" -resize 1080x1080^ -gravity center -extent 1080x1080 -quality 82 -strip "instagram_optimized\%%~nf_insta.jpg"
    echo Processed: %%f
)

echo Batch complete!
pause
-
Run Script
# Mac/Linux chmod +x instagram-batch.sh ./instagram-batch.sh # Windows instagram-batch.bat -
Result
- 50 images optimized in 2-3 minutes
- All 1080×1080px
- Compressed to ~1-1.5MB each
- Ready for Instagram upload
Time Required: 5 minutes (vs. 1.5 hours manual)
Scenario 4: E-commerce Product Catalog (300 items)
Goal: Create multiple versions of each product image (original, large, medium, thumbnail)
Method: ImageMagick batch script with multiple outputs
Script:
#!/bin/bash

# Create output directories
mkdir -p {original,large,medium,thumbnail}

# Process each image
for img in source/*.jpg; do
    filename=$(basename "$img" .jpg)

    # Original quality (archive)
    cp "$img" "original/${filename}.jpg"

    # Large (product page)
    convert "$img" \
        -resize 2000x2000 \
        -quality 90 \
        -strip \
        "large/${filename}_large.jpg"

    # Medium (category page)
    convert "$img" \
        -resize 800x800 \
        -quality 85 \
        -strip \
        "medium/${filename}_medium.jpg"

    # Thumbnail (grid)
    convert "$img" \
        -resize 400x400^ \
        -gravity center \
        -extent 400x400 \
        -quality 80 \
        -strip \
        "thumbnail/${filename}_thumb.jpg"

    echo "Processed: $filename (4 versions)"
done

echo "Complete! Processed $(ls source/*.jpg | wc -l) products"
Result:
- 300 products × 4 versions = 1,200 images generated
- Consistent quality across all products
- Organized in separate folders
- Time: 15-20 minutes (vs. 10+ hours manual)
Advanced Batch Compression Techniques
Preserving Folder Structure
When batch processing nested folders, preserve organization:
# ImageMagick: Process entire directory tree
find ./source -type f \( -name "*.jpg" -o -name "*.png" \) | while read file; do
    # Get relative path
    rel_path="${file#./source/}"
    output_dir="./optimized/$(dirname "$rel_path")"

    # Create output directory
    mkdir -p "$output_dir"

    # Compress image
    convert "$file" \
        -resize 1600x -quality 80 -strip \
        "$output_dir/$(basename "$file")"
done
Conditional Processing Based on File Size
Only compress images over certain size:
#!/bin/bash

# Only compress images over 1MB
for img in *.jpg; do
    size=$(stat -f%z "$img" 2>/dev/null || stat -c%s "$img" 2>/dev/null)
    size_mb=$((size / 1048576))

    if [ $size_mb -gt 1 ]; then
        convert "$img" -quality 80 -strip "compressed_$img"
        echo "Compressed: $img ($size_mb MB)"
    else
        echo "Skipped: $img ($size_mb MB - already small)"
    fi
done
Platform-Specific Batch Processing
Create different versions for different platforms:
#!/bin/bash

img=$1
basename="${img%.*}"

# Instagram (1080x1080)
convert "$img" -resize 1080x1080^ -gravity center -extent 1080x1080 \
    -quality 82 -strip "${basename}_instagram.jpg"

# Facebook (2048 wide max)
convert "$img" -resize 2048x -quality 85 -strip "${basename}_facebook.jpg"

# Twitter (1200x675)
convert "$img" -resize 1200x675^ -gravity center -extent 1200x675 \
    -quality 78 -strip "${basename}_twitter.jpg"

# Pinterest (1000x1500)
convert "$img" -resize 1000x1500! -quality 83 -strip "${basename}_pinterest.jpg"

echo "Created 4 social media versions of $img"
Run for all images:
for img in *.jpg; do
    ./social-media-batch.sh "$img"
done
Adding Watermarks in Batch
Apply watermark to all images:
#!/bin/bash

watermark="logo.png"

for img in *.jpg; do
    convert "$img" "$watermark" \
        -gravity SouthEast \
        -geometry +20+20 \
        -composite \
        -quality 85 \
        "watermarked_$img"
    echo "Watermarked: $img"
done
Progressive JPEG Batch Creation
Convert all images to progressive JPEG:
# ImageMagick
mogrify -interlace Plane -quality 82 *.jpg

# Or with MozJPEG for better compression
for img in *.jpg; do
    cjpeg -progressive -quality 85 -outfile "progressive_$img" "$img"
done
Format Conversion with Fallbacks
Create WebP versions with JPEG fallbacks:
#!/bin/bash

for img in *.jpg; do
    basename="${img%.jpg}"

    # Create optimized JPEG
    convert "$img" -quality 85 -strip "${basename}_opt.jpg"

    # Create WebP version
    cwebp -q 80 "$img" -o "${basename}.webp"

    echo "Created JPEG and WebP for: $img"
done
Automation and Workflows
Watch Folder Automation
Automatically compress new images added to a folder:
Mac (using Automator + Folder Action):
- Open Automator → New Document → Folder Action
- Choose folder to watch
- Add actions:
- Filter Finder Items (Images only)
- Run Shell Script:
for f in "$@"; do
    convert "$f" -resize 1600x -quality 80 -strip "${f%.*}_compressed.jpg"
done
- Save Folder Action
Linux (using inotifywait):
#!/bin/bash

watch_dir="/path/to/watch"
output_dir="/path/to/output"

inotifywait -m -e create -e moved_to --format '%w%f' "$watch_dir" | while read file; do
    if [[ $file =~ \.(jpg|jpeg|png)$ ]]; then
        filename=$(basename "$file")
        convert "$file" -resize 1600x -quality 80 -strip "$output_dir/$filename"
        echo "Auto-compressed: $filename"
    fi
done
Batch Processing with Progress Bar
Show progress for large batches:
#!/bin/bash

total=$(ls *.jpg | wc -l)
current=0

for img in *.jpg; do
    ((current++))
    percent=$((current * 100 / total))

    printf "\rProcessing: %d/%d (%d%%) - %s" "$current" "$total" "$percent" "$img"

    convert "$img" -quality 80 -strip "compressed_$img"
done

echo -e "\n\nBatch complete!"
Cloud-Based Batch Processing
Using Cloudinary API (Node.js example):
const cloudinary = require('cloudinary').v2;
const fs = require('fs');
const path = require('path');

cloudinary.config({
    cloud_name: 'your_cloud_name',
    api_key: 'your_api_key',
    api_secret: 'your_api_secret'
});

// Batch upload and optimize
const images = fs.readdirSync('./images');

images.forEach(async (img) => {
    const filepath = path.join('./images', img);

    try {
        const result = await cloudinary.uploader.upload(filepath, {
            quality: 'auto:best',
            fetch_format: 'auto',
            folder: 'compressed'
        });

        console.log(`Uploaded: ${img} -> ${result.secure_url}`);
    } catch (error) {
        console.error(`Error uploading ${img}:`, error);
    }
});
Batch Compression Best Practices
Before Batch Processing
✅ Backup originals - Never overwrite source files ✅ Test on samples - Process 5-10 images first to verify settings ✅ Organize files - Group by purpose, size, or quality needs ✅ Check file types - Separate JPEG from PNG ✅ Document settings - Record compression parameters for future reference ✅ Plan output structure - Decide folder organization
During Batch Processing
✅ Use consistent settings for uniform results ✅ Monitor first few outputs to catch errors early ✅ Process in logical batches (by folder, date, or category) ✅ Name outputs clearly (compressed_, optimized_, etc.) ✅ Keep originals separate from processed files ✅ Log processing for troubleshooting
After Batch Processing
✅ Verify random samples - Check 10-20 images for quality ✅ Compare file sizes - Ensure expected reduction ✅ Test in actual use - Upload to website, social media, etc. ✅ Check compatibility - Verify formats work as expected ✅ Document workflow - Save scripts/settings for future use ✅ Archive originals safely
Troubleshooting Batch Compression
Problem: Batch Processing Fails Halfway
Causes:
- Corrupt image files
- Insufficient disk space
- File permission issues
- Memory limitations
Solutions:
- Check for corrupt files first:
identify -verbose *.jpg > /dev/null 2>&1 - Ensure adequate free disk space (2-3x total image size)
- Run with proper permissions (chmod, sudo if needed)
- Process in smaller batches
- Increase system memory allocation
Problem: Inconsistent Output Quality
Causes:
- Mixed source quality
- Different image dimensions
- Varied content types (photos vs graphics)
Solutions:
- Separate by type:
# Process photos mogrify -quality 80 photos/*.jpg # Process graphics separately mogrify -quality 90 graphics/*.png - Conditional processing:
for img in *.jpg; do
    if identify -format '%w' "$img" | awk '{if($1>2000)exit 0;exit 1}'; then
        convert "$img" -resize 1600x -quality 80 "optimized_$img"
    else
        convert "$img" -quality 85 "optimized_$img"
    fi
done
Problem: Batch Takes Too Long
Causes:
- Processing too many images at once
- High-resolution sources
- Complex operations (multiple resizes, watermarks)
Solutions:
- Parallel processing:
# GNU Parallel (install via brew/apt) ls *.jpg | parallel convert {} -quality 80 optimized_{} # Or with xargs find . -name "*.jpg" | xargs -P 4 -I {} convert {} -quality 80 opt_{} - Process in smaller batches (100-200 at a time)
- Use faster compression algorithms
- Upgrade hardware or use cloud processing
Problem: Output Files Larger Than Expected
Causes:
- Quality setting too high
- Format inappropriate for content
- Metadata not stripped
Solutions:
- Lower quality: 75-80% instead of 85-90%
- Convert format:
mogrify -format jpg -quality 85 *.png # PNG to JPEG - Strip metadata:
mogrify -strip -quality 80 *.jpg - Resize if oversized:
mogrify -resize 1920x\> -quality 80 *.jpg
Batch Compression Comparison
| Method | Speed (100 imgs) | Ease of Use | Flexibility | Cost | Best For |
|---|---|---|---|---|---|
| TinyImagePro | 10-15 min | Very Easy | Medium | Free | Quick batches, beginners |
| XnConvert | 3-5 min | Easy | High | Free | Desktop users, complex workflows |
| Lightroom | 5-8 min | Medium | High | $10/mo | Photographers, RAW files |
| ImageMagick | 2-4 min | Hard | Very High | Free | Automation, advanced users |
| Cloudinary | 5-10 min | Medium | High | Paid | Cloud-based, API integration |
Frequently Asked Questions
Q: Can I batch compress images online for free? A: Yes. TinyImagePro allows up to 20 images per batch on desktop or 10 on mobile for free. Repeat batches for larger sets. Other options include TinyPNG (20/month free) or desktop tools like XnConvert (unlimited, free).
Q: What's the fastest way to batch compress 1,000 images? A: Command-line tools like ImageMagick with parallel processing. Expect 10-20 minutes for 1,000 images with proper hardware.
Q: Will batch compression reduce quality? A: Only if using lossy compression. At 75-85% JPEG quality, quality loss is minimal. Always test on samples first.
Q: How do I compress images without losing quality in batch? A: Use lossless PNG compression (OptiPNG, pngquant) or JPEG at 90-95% quality. File size reduction will be smaller (10-30% vs 60-80%).
Q: Can I undo batch compression? A: No. Always keep original files backed up. Compressed images cannot be restored to original quality.
Q: What quality setting should I use for batch compression? A: 75-85% for most uses. Higher (85-90%) for professional/portfolio, lower (70-75%) for thumbnails/email.
Q: How to batch compress images on Mac/Windows? A: Mac: ImageOptim (drag & drop), Windows: RIOT or XnConvert. Both are free and user-friendly.
Q: Can I batch compress images on my phone? A: Yes, but limited. Apps like Photo Compress (iOS) and Image Compressor (Android) support batch processing, typically 10-20 images at a time.
Q: Is batch compression safe for valuable photos? A: Yes, if you keep original backups. Process copies, never originals. Use lossless or high-quality settings (85-90%) for irreplaceable photos.
Q: How much smaller will my images be after batch compression? A: Typically 60-80% smaller at 75-85% quality. Varies by image content, source quality, and settings. Test samples first.
Conclusion
Batch image compression is essential for efficiently managing large numbers of images. Whether you're optimizing a website, organizing a photo library, or preparing content for social media, batch processing saves countless hours while ensuring consistent quality.
Key Takeaways:
- Choose the right tool for your needs (online, desktop, or command-line)
- Test settings on samples before processing entire batches
- Always backup originals before batch processing
- Use consistent settings for uniform results
- Automate workflows for recurring tasks
- Verify results with spot-checking
- Target 75-85% quality for optimal size/quality balance
Ready to batch compress your images? Try our free image compressor for quick batches of up to 20 images on desktop or 10 on mobile.
Related guides:
- Reduce Image File Size - Comprehensive size reduction guide
- Compress Images for Website - Web optimization
- Compress JPEG Images - JPEG-specific techniques
- Compress PNG Images - PNG optimization
