Large image files slow down websites, eat up storage space, and make sharing difficult. Whether you need to reduce file size for email, website performance, social media, or storage management, this comprehensive guide covers every method to make your images smaller while maintaining acceptable quality.

Why Reduce Image File Size
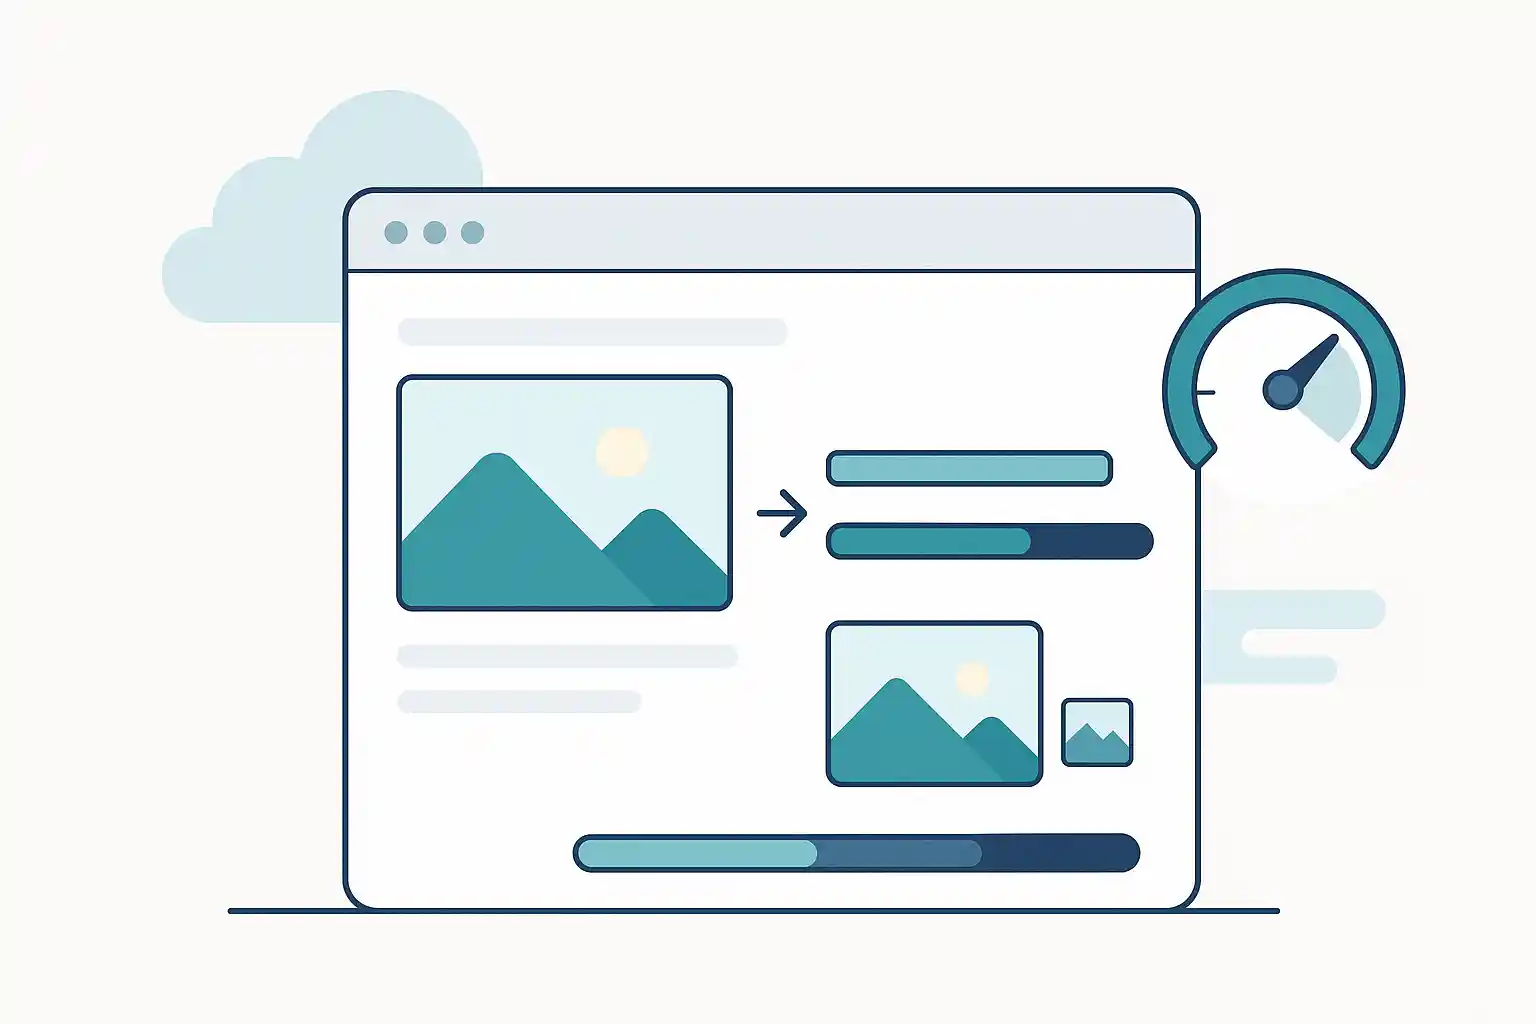
Website Performance
The Impact:
- Images account for 50-70% of average page weight
- 1-second delay in page load = 7% drop in conversions
- Google uses page speed as ranking factor
- Mobile users abandon slow-loading sites
Benefits of Smaller Images:
- 2-5x faster page loads
- Better SEO rankings (Core Web Vitals)
- Lower bounce rates
- Improved mobile experience
- Reduced hosting costs
Storage Savings
Storage Costs:
- Cloud storage: $0.02-0.10 per GB per month
- 1,000 unoptimized photos (5MB each) = 5GB = $0.10-0.50/month
- 1,000 optimized photos (800KB each) = 800MB = $0.02-0.08/month
- Lifetime savings: $10-50+ annually
Practical Benefits:
- Fit more photos on phone/camera
- Faster backups
- Quicker file transfers
- Less iCloud/Google Photos storage needed
Easy Sharing
File Size Limits:
- Email attachments: 10-25MB total
- Social media: 5-30MB per image
- File sharing services: Often faster with smaller files
- WhatsApp/Messaging: Better quality with pre-compressed images
User Experience:
- Faster uploads
- Faster downloads for recipients
- Works on slow connections
- Mobile-friendly
Understanding What Makes Images Large
Key Factors Affecting File Size
| Factor | Impact on Size | Example |
|---|---|---|
| Dimensions | Very High | 4000×3000px vs 1200×900px = 10x larger |
| Quality/Compression | High | 100% vs 80% quality = 5x larger |
| File Format | High | PNG vs JPEG (photo) = 3-5x larger |
| Color Depth | Medium | 24-bit vs 8-bit = 3x larger |
| Metadata | Low | With EXIF vs without = 10-50KB |
| Transparency | Medium | PNG with alpha vs JPEG = 2-3x larger |
File Size Breakdown Example
Original Photo (4000×3000px, 100% quality, JPEG with EXIF):
- Pixel data: 11,500KB (96%)
- EXIF metadata: 45KB (0.4%)
- JPEG encoding overhead: 455KB (3.6%)
- Total: 12MB
Optimized Photo (1600×1200px, 80% quality, JPEG no EXIF):
- Pixel data: 720KB (92%)
- JPEG encoding overhead: 62KB (8%)
- Total: 782KB
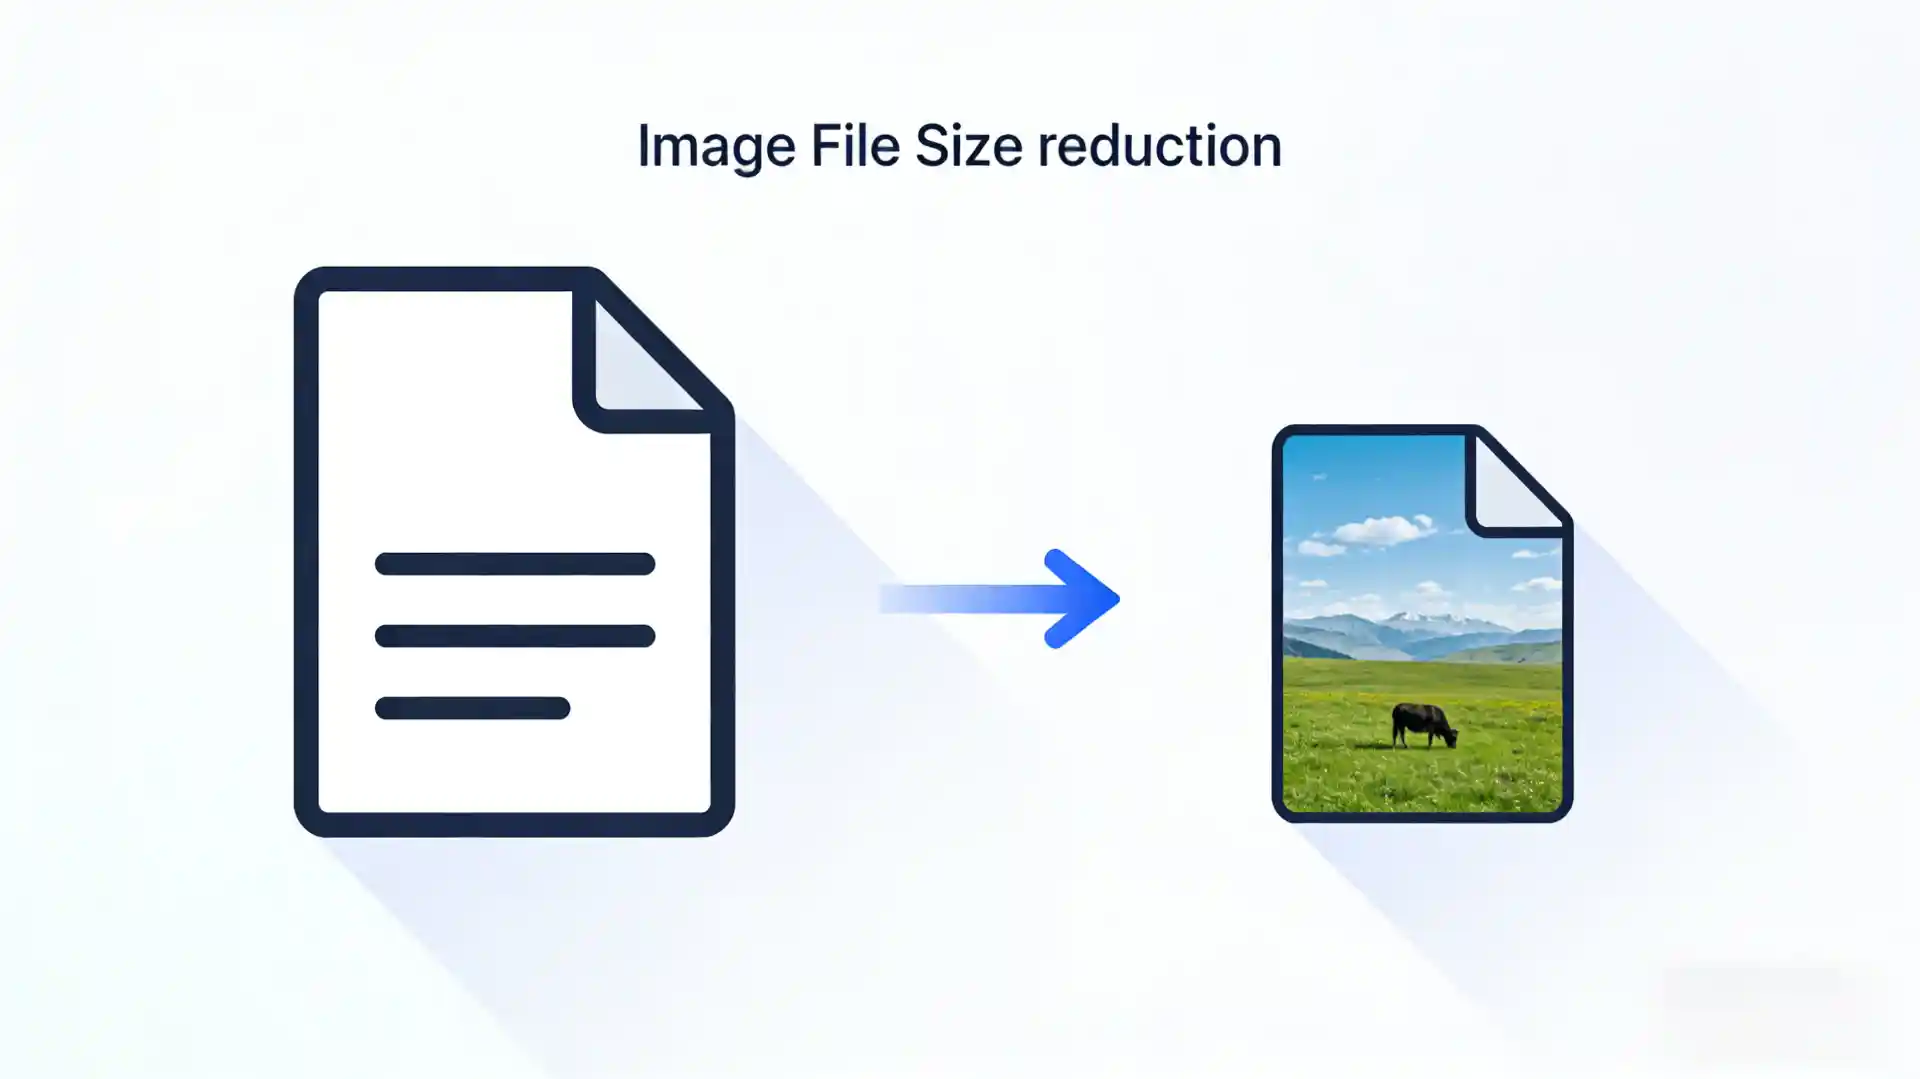
Reduction: 94% smaller (from 12MB to 782KB)
Methods to Reduce Image File Size
Method 1: Compress Images (Recommended)
What It Is: Reduce file size by removing redundant data while maintaining dimensions.
Best For:
- Quick file size reduction
- Maintaining image dimensions
- Web optimization
- General use
Quality vs Size Trade-off:
| Quality Level | File Size Reduction | Visual Quality | Use Case |
|---|---|---|---|
| 95-100% | 10-30% | Excellent | Professional print, archival |
| 85-90% | 40-60% | Very good | High-quality web, portfolios |
| 75-85% | 60-75% | Good | Standard web, social media |
| 65-75% | 75-85% | Acceptable | Email, quick sharing |
| 50-65% | 85-92% | Noticeable loss | Thumbnails only |
How to Compress:
Using TinyImagePro (Recommended):
- Visit TinyImagePro.com
- Upload images (drag & drop)
- Select compression level or target size
- Download compressed images
Compression Settings by Use Case:
- Website images: 75-85% quality
- Social media: 75-80% quality
- Email attachments: 70-80% quality
- Thumbnails: 65-75% quality
Method 2: Resize Images
What It Is: Reduce physical dimensions (width × height in pixels).
Best For:
- Dramatic size reduction
- Images displayed smaller than original
- Mobile optimization
- Thumbnails
Impact on File Size:
- Halving dimensions = 75% smaller file
- Reducing to 1/3 dimensions = 88% smaller file
- Reducing to 1/4 dimensions = 94% smaller file
Example:
- Original: 4000×3000px = 12MB
- Resized to 2000×1500px = 3MB (75% smaller)
- Resized to 1200×900px = 1.08MB (91% smaller)
- Resized to 800×600px = 480KB (96% smaller)
How to Determine Resize Dimensions:
| Display Purpose | Recommended Size | Rationale |
|---|---|---|
| Website hero image | 1920-2400px wide | Full-screen desktop |
| Blog post image | 1200-1600px wide | Content width |
| Product photo | 1000-2000px wide | Zoom capability |
| Thumbnail | 300-600px wide | Small display |
| Email attachment | 1200-1600px wide | Viewing, not printing |
| Social media post | 1080-2048px wide | Platform-specific |
| Profile picture | 400-800px | Small circular display |
Resizing Workflow:
# Resize to 1200px width (maintains aspect ratio)
convert original.jpg -resize 1200x photo-1200w.jpg

# Result: Original 12MB → Resized 1.1MB (91% reduction)
Method 3: Convert Image Format
What It Is: Change file format to more efficient compression.
Format Comparison (Same Photo):
| Format | File Size | Quality | Transparency | Use Case |
|---|---|---|---|---|
| Original TIFF | 36MB | Perfect | No | Photography source |
| PNG-24 | 4.2MB | Perfect | Yes | Graphics, lossless |
| JPEG (95%) | 2.8MB | Excellent | No | High-quality photos |
| JPEG (85%) | 1.2MB | Very good | No | Standard photos |
| JPEG (75%) | 720KB | Good | No | Web photos |
| WebP (85%) | 850KB | Very good | Yes | Modern web |
| WebP (75%) | 510KB | Good | Yes | Modern web optimized |
| PNG-8 | 380KB | Good (limited colors) | Yes | Simple graphics |
Conversion Recommendations:
Convert to JPEG when:
- Source is PNG but image is a photograph
- No transparency needed
- File size is priority
- Maximum compatibility needed
Convert to WebP when:
- Modern website
- Want 25-35% better compression than JPEG
- Transparency needed (better than PNG)
- Browser support adequate (95%+)
Convert to PNG-8 when:
- Simple graphics (few colors)
- Need transparency
- Original is PNG-24 or JPEG
- Logos, icons, simple illustrations
Format Conversion Example:
# PNG photo → JPEG (huge savings)
convert photo.png -quality 85 photo.jpg
# 4.2MB PNG → 1.2MB JPEG (71% reduction)

# JPEG → WebP (better compression)
cwebp -q 80 photo.jpg -o photo.webp
# 1.2MB JPEG → 850KB WebP (29% reduction)

# PNG-24 → PNG-8 (for simple graphics)
convert logo.png -colors 256 logo-8bit.png
# 420KB PNG-24 → 85KB PNG-8 (80% reduction)
Method 4: Remove Metadata
What It Is: Strip EXIF data (camera settings, GPS, date, etc.) from images.
Typical EXIF Data Size: 10-50KB per image
What's Included in EXIF:
- Camera make and model
- Lens information
- Shooting settings (ISO, aperture, shutter speed)
- GPS coordinates (location)
- Date and time
- Thumbnail preview
- Copyright information
- Device serial number
Why Remove:
- File size reduction (small but measurable)
- Privacy protection (removes location data)
- Cleaner files
How to Remove Metadata:
Using TinyImagePro: Automatically strips EXIF when compressing
Command line:
# Remove all metadata
exiftool -all= image.jpg

# Or with ImageMagick
convert input.jpg -strip output.jpg
Metadata Removal Savings:
- 1 image: 10-50KB saved (negligible)
- 100 images: 1-5MB saved (noticeable)
- 1,000 images: 10-50MB saved (significant)
Method 5: Optimize Color Palette
What It Is: Reduce number of colors in image (for graphics, not photos).
Best For:
- Logos
- Icons
- Illustrations
- Graphics with limited colors
- NOT for photographs
Color Reduction Impact:
| Color Depth | Colors | File Size | Quality |
|---|---|---|---|
| 24-bit (True Color) | 16.7 million | 100% | Perfect |
| 8-bit (256 colors) | 256 | 30-40% | Good for graphics |
| 7-bit (128 colors) | 128 | 25-30% | Acceptable |
| 6-bit (64 colors) | 64 | 20-25% | Noticeable quality loss |
| 4-bit (16 colors) | 16 | 12-15% | Significant loss |
Example:
- Logo PNG (24-bit): 420KB
- Logo PNG (8-bit, optimized palette): 95KB (77% reduction)
- Logo PNG (6-bit): 58KB (86% reduction, but quality loss)
How to Optimize Colors:
# Reduce to 256 colors (optimal for most graphics)
convert logo.png -colors 256 logo-optimized.png

# Use pngquant for better quality
pngquant --quality=65-80 logo.png
Combining Methods for Maximum Reduction
Best Practice: Use multiple methods together for dramatic file size reduction.
Example Workflow:
Original Photo: 4000×3000px, PNG, 100% quality, with EXIF = 15MB
Step 1: Convert PNG → JPEG
- Result: 12MB (20% reduction)
Step 2: Resize to 1600×1200px
- Result: 2.4MB (80% reduction from Step 1)
Step 3: Compress to 80% quality
- Result: 980KB (59% reduction from Step 2)
Step 4: Remove EXIF metadata
- Result: 938KB (4% reduction from Step 3)
Final: 938KB (94% reduction from original 15MB)
Quality Impact: Minimal when viewed at intended size (1600px or smaller)
Platform-Specific File Size Targets
Website Images
| Image Type | Target Size | Max Size | Priority |
|---|---|---|---|
| Hero/Banner | 150-300KB | 500KB | High (affects LCP) |
| Blog featured | 100-200KB | 300KB | Medium |
| Content images | 80-150KB | 250KB | Medium |
| Product photos | 100-250KB | 400KB | High (sales impact) |
| Thumbnails | 20-60KB | 100KB | Low |
| Background images | 100-250KB | 400KB | Medium |
Total Page Image Budget: Keep all images combined under 800KB-1MB for optimal performance.
Email Attachments
Target: 500KB-1MB per image Maximum: 2-3MB per image Total email: Keep under 10MB for all attachments
Why: Email size limits, slow recipient connections, mobile viewing.
Social Media
| Platform | Target Size | Max Accepted | Notes |
|---|---|---|---|
| 1-1.5MB | 30MB | Platform recompresses | |
| 1-2MB | 15MB | Aggressive compression | |
| 1-2MB | 5MB | Moderate compression | |
| 1-2MB | 8MB | Professional quality | |
| 1-2MB | 32MB | Light compression |
Cloud Storage Optimization
Personal Photo Library:
- Original quality: Keep source files uncompressed (backup/archival)
- Viewing copies: 1200-1600px, 80-85% quality, 800KB-1.5MB
- Thumbnails: 400px, 70% quality, 40-80KB
Savings Example:
- 10,000 original photos: 50GB (5MB each)
- 10,000 optimized for viewing: 12GB (1.2MB each)
- Total savings: 38GB (76% reduction)
Tools for Reducing Image File Size

Online Tools
TinyImagePro (Recommended):
- Free: No registration
- Privacy: Client-side processing (files never uploaded)
- Features: Compression, resize, format conversion, batch processing
- Control: Adjustable quality, preview before/after
- Try it: TinyImagePro.com
TinyPNG:
- Specializes in PNG compression
- WebP support
- Smart lossy compression
- Free: 20 images/month, 5MB each
Compressor.io:
- Multiple format support
- Lossy and lossless modes
- Free with ads
Desktop Software
Adobe Photoshop:
- "Save for Web" feature
- Precise control over quality
- Batch processing (Actions)
- $20-50/month
GIMP (Free):
- Export dialog with quality control
- Batch processing via plugins
- Open-source alternative to Photoshop
XnConvert (Free):
- Excellent batch processing
- Resize, compress, convert format
- Actions for automation
- Cross-platform
ImageOptim (Mac, Free):
- Drag-and-drop optimization
- Lossless compression
- Removes metadata
- Batch processing
Command Line Tools
ImageMagick (Free, Open-source):
# Resize and compress
convert input.jpg -resize 1200x -quality 82 output.jpg

# Batch process all JPEGs
mogrify -resize 1600x -quality 80 -strip *.jpg
cwebp (Free, Google):
# Convert to WebP
cwebp -q 80 input.jpg -o output.webp

# Batch convert
for i in *.jpg; do cwebp -q 80 "$i" -o "${i%.jpg}.webp"; done
pngquant (Free, PNG optimizer):
# Lossy PNG compression
pngquant --quality=65-80 --ext .png --force *.png
Step-by-Step: Reduce File Size for Common Scenarios

Scenario 1: Email Attachment (Target: < 1MB)
Original: 3000×2000px photo, 4.5MB
Steps:
- Resize to 1600×1067px
- Compress to 75% quality
- Remove metadata
Result: 780KB (83% reduction)
Using TinyImagePro:
- Upload photo
- Select "Email Attachment" preset
- Download optimized image
Scenario 2: Website Hero Image (Target: < 300KB)
Original: 5000×3000px photo, 12MB
Steps:
- Resize to 2400×1440px (Retina displays)
- Compress to 78% quality
- Convert to WebP (with JPEG fallback)
- Remove metadata
Result: 285KB WebP, 380KB JPEG
Scenario 3: Social Media Post (Target: 1-1.5MB)
Original: 4000×3000px photo, 8MB
Steps:
- Resize to 1080×1080px (Instagram square)
- Compress to 82% quality
- Sharpen slightly (0.5-1.0)
- Remove metadata
Result: 1.2MB (85% reduction)
Scenario 4: Bulk Photo Library Optimization
Goal: Reduce 1,000 family photos from 35GB to under 10GB
Workflow:
- Create backup of originals
- Batch resize to 1600px width
- Batch compress to 80% quality
- Remove all metadata
- Organize in folders by year/event
Result:
- Original: 35GB (avg 3.5MB/photo)
- Optimized: 9.8GB (avg 980KB/photo)
- Savings: 25.2GB (72% reduction)
Advanced File Size Reduction Techniques
Progressive JPEG
What It Is: JPEG that loads in multiple passes (low-res first, then full quality).
Benefits:
- 2-5% smaller file size
- Better perceived performance
- Same final quality
When to Use: Images over 30KB, especially hero images.
How to Create:
convert input.jpg -interlace Plane -quality 82 output.jpg
Lossless PNG Compression
What It Is: Compress PNG without any quality loss.
Tools:
- OptiPNG:
optipng -o7 image.png(maximum compression) - pngcrush:
pngcrush -brute input.png output.png - Zopfli:
zopflipng -m input.png output.png(slowest, best compression)
Typical Savings: 10-30% file size reduction with zero quality loss
Best For: Graphics, logos, screenshots where quality is critical.
Selective Compression
What It Is: Different compression levels for different parts of image.
Use Case: Portraits where face needs high quality but background can be compressed more.
How: Advanced Photoshop technique or AI-powered tools
Lazy Loading (Web Only)
What It Is: Delay loading images until they're about to be viewed.
Benefits:
- Faster initial page load
- Saves bandwidth for images never viewed
- Better Core Web Vitals scores
Implementation:
<img src="image.jpg" loading="lazy" alt="Description">
Troubleshooting File Size Issues
Problem: File Size Won't Reduce Enough
Symptoms: Tried compressing but file still too large.
Possible Causes:
- Image dimensions too large
- Format inappropriate (PNG for photo)
- Quality setting too high
- Complex image content (high detail)
Solutions:
- Resize first, then compress
- Convert PNG → JPEG for photos
- Lower quality to 70-75%
- Use lossy compression instead of lossless
- Crop unnecessary areas
Problem: Quality Loss Too Noticeable
Symptoms: Compressed image looks pixelated or blurry.
Causes:
- Quality too low (< 60%)
- Over-compressed multiple times
- Started with low-quality source
- Wrong format for content type
Solutions:
- Increase quality to 75-85%
- Start from original (don't re-compress)
- Use lossless for graphics
- Convert to appropriate format
- Sharpen slightly after compression
Problem: Colors Look Wrong After Compression
Causes:
- Wrong color space (Adobe RGB vs sRGB)
- Over-aggressive compression
- Color profile stripped
Solutions:
- Convert to sRGB before compressing
- Increase quality setting
- Embed sRGB profile
- Test on multiple devices
Best Practices for Reducing Image File Size
Before You Start
✅ Keep original files backed up (never overwrite originals) ✅ Determine intended use (web, print, social, email) ✅ Know target file size or dimensions ✅ Check platform requirements if applicable ✅ Test compression on sample images first
During Compression
✅ Resize first, then compress (more effective) ✅ Use appropriate quality (75-85% for most uses) ✅ Convert to efficient format (WebP or JPEG for photos) ✅ Remove metadata unless needed ✅ Preview results before saving ✅ Compare file sizes to verify reduction
After Compression
✅ Verify quality on multiple devices ✅ Check file size meets requirements ✅ Test in actual use case (upload to website, email, etc.) ✅ Organize files clearly (original vs optimized) ✅ Document settings for future reference
Frequently Asked Questions
Q: What's the best way to reduce image file size? A: Combine resizing and compression. Resize to intended display size first, then compress to 75-85% quality for most uses.
Q: How much can I compress without losing quality? A: JPEG at 75-85% quality is usually imperceptible. Below 70% you'll notice quality loss. PNG can be losslessly compressed 10-30%.
Q: Should I resize or compress first? A: Resize first, then compress. Resizing reduces data to process, making compression more effective.
Q: What's better: reducing dimensions or quality? A: Depends on use case. If image is displayed smaller, reduce dimensions. If dimensions must stay, reduce quality to 75-85%.
Q: Can I reduce file size without losing any quality? A: Yes for PNG (lossless compression). For JPEG, you'll lose some quality, but 85-90% is often imperceptible.
Q: Why is my PNG so much larger than JPEG? A: PNG is lossless and supports transparency. For photos without transparency, JPEG is 60-80% smaller.
Q: How do I reduce image size on my phone? A: Use apps like Photo Compress (iOS), Image Compressor (Android), or TinyImagePro website on mobile browser.
Q: What format has the smallest file size? A: WebP and AVIF offer best compression. WebP is 25-35% smaller than JPEG. AVIF is 50% smaller but less supported.
Q: How small can I make an image? A: Depends on content and quality needs. Typical ranges: hero images 150-400KB, content 80-200KB, thumbnails 20-80KB.
Q: Will reducing file size affect print quality? A: Yes. For printing, keep images at 300 DPI at final print size. For web/screen, 72-150 DPI is sufficient.
Conclusion
Reducing image file size is essential for fast websites, easy sharing, and efficient storage management. The key is balancing file size reduction with acceptable visual quality for your specific use case.
Key Takeaways:
- Resize images to intended display dimensions first
- Compress to 75-85% quality for optimal size/quality balance
- Convert to efficient formats (WebP for modern web, JPEG for photos)
- Remove metadata for small but measurable savings
- Combine multiple methods for maximum reduction (94%+ possible)
- Keep original files backed up
- Test results before deploying
Ready to reduce your image file sizes? Try our free image compressor for instant, professional results with full control over quality.
Related guides:
- Compress Image to 1MB - Target specific file size
- Compress Images for Website - Web optimization
- Batch Compress Images - Process multiple files
- Compress JPEG Images - JPEG-specific techniques


