Writing the story is no longer the slow part. AI story generators can hand you a complete narrative — characters, arc, dialogue — in the time it takes to describe what you want. The slow part is everything after: finding or making illustrations, sizing them consistently, keeping the page fast enough that readers don't bounce before the second paragraph.
This guide covers the whole pipeline end to end: drafting a story with AI, illustrating it, and preparing every image so the finished post loads instantly on any connection.
Step 1: Draft the Story
Start with the narrative, not the visuals. Illustrations chosen before the story exists almost always end up decorating scenes that got cut.
For the drafting stage, a dedicated story generator beats a general chatbot because it's built around narrative structure rather than open-ended conversation. Story AI is the one we point people to — you describe a premise, genre, and tone, and it returns a structured story you can iterate on rather than a wall of text you have to reorganize yourself.
A few habits that make the output far more usable:
- Be specific about length and audience. "A 900-word bedtime story for a 6-year-old" produces something publishable. "Write a story" produces filler.
- Name the constraints, not just the topic. Setting, point of view, and the emotional beat you want at the end do more work than plot details.
- Iterate one dimension at a time. Fix the ending, then the pacing, then the dialogue. Asking for five changes at once usually undoes two of them.
- Mark your illustration points as you go. Every time a scene changes location or stakes, that's a candidate for an image.
By the end of this step you should have finished text plus a short list of three to six moments worth illustrating.
Step 2: Source or Generate the Illustrations
You have three realistic options, and they trade off cost against consistency.
| Source | Cost | Consistency across scenes |
|---|---|---|
| AI image generation | Low | Hard — characters drift between prompts |
| Stock photography | Medium | Good for mood, poor for specific scenes |
| Commissioned art | High | Excellent |
For most story posts, AI generation wins on cost, and character drift is manageable if you reuse one detailed character description verbatim in every prompt and generate all scenes in a single session.
Whatever you choose, generate at a larger size than you need. Downscaling keeps detail; upscaling invents it. A 2048px-wide source gives you room to crop later without softening the result.
Step 3: Normalize Dimensions Before You Do Anything Else
This is where most illustrated posts fall apart. Mixed image dimensions cause layout shift as the page loads, and layout shift is one of the fastest ways to lose a reader mid-sentence.
Pick one width for inline story illustrations and hold to it. Practical targets:
- Inline scene illustrations: 1200×675 (16:9) or 1200×800 (3:2)
- Cover / social share image: 1200×630
- Vertical pull-quote graphics: 1080×1350
Resize every illustration to the target width in one pass so the whole set matches. If an AI-generated image has the right subject but the wrong framing, crop it to the aspect ratio instead of squashing it — a stretched character reads as sloppy even to people who can't say why.
For anything scanned or photographed rather than generated, a quick rotation fix before resizing saves you from discovering a sideways image after publication.
Step 4: Compress Without Visibly Degrading the Art
Story illustrations are the heaviest thing on the page, and they're also the thing readers actually came to see. The goal is the smallest file that still looks untouched at full width.
Sensible targets, by role:
| Image role | Target size | Format |
|---|---|---|
| Inline illustration | 100–200 KB | WebP or JPEG |
| Cover image | 150–250 KB | WebP |
| Decorative divider | Under 50 KB | WebP or PNG |
| Line art / flat color | Under 100 KB | PNG |
Run illustrations through a 200 KB compression pass for full-width art, or 100 KB for images that sit inside a narrower column. Flat-color and line-art illustrations behave differently — they compress better as PNG, so send those through the PNG compressor instead, where palette reduction cuts size dramatically without touching edge sharpness.
If you're publishing to a platform that accepts modern formats, converting to WebP is the single biggest win available: JPEG to WebP or PNG to WebP typically saves another 25–35% on top of compression, at identical visual quality.
Every one of these runs in your browser. Nothing about an unpublished story gets uploaded to a server, which matters more than people expect when the work isn't public yet.
Step 5: Prepare the Distribution Assets
The story post is done. The assets that carry it elsewhere usually aren't.
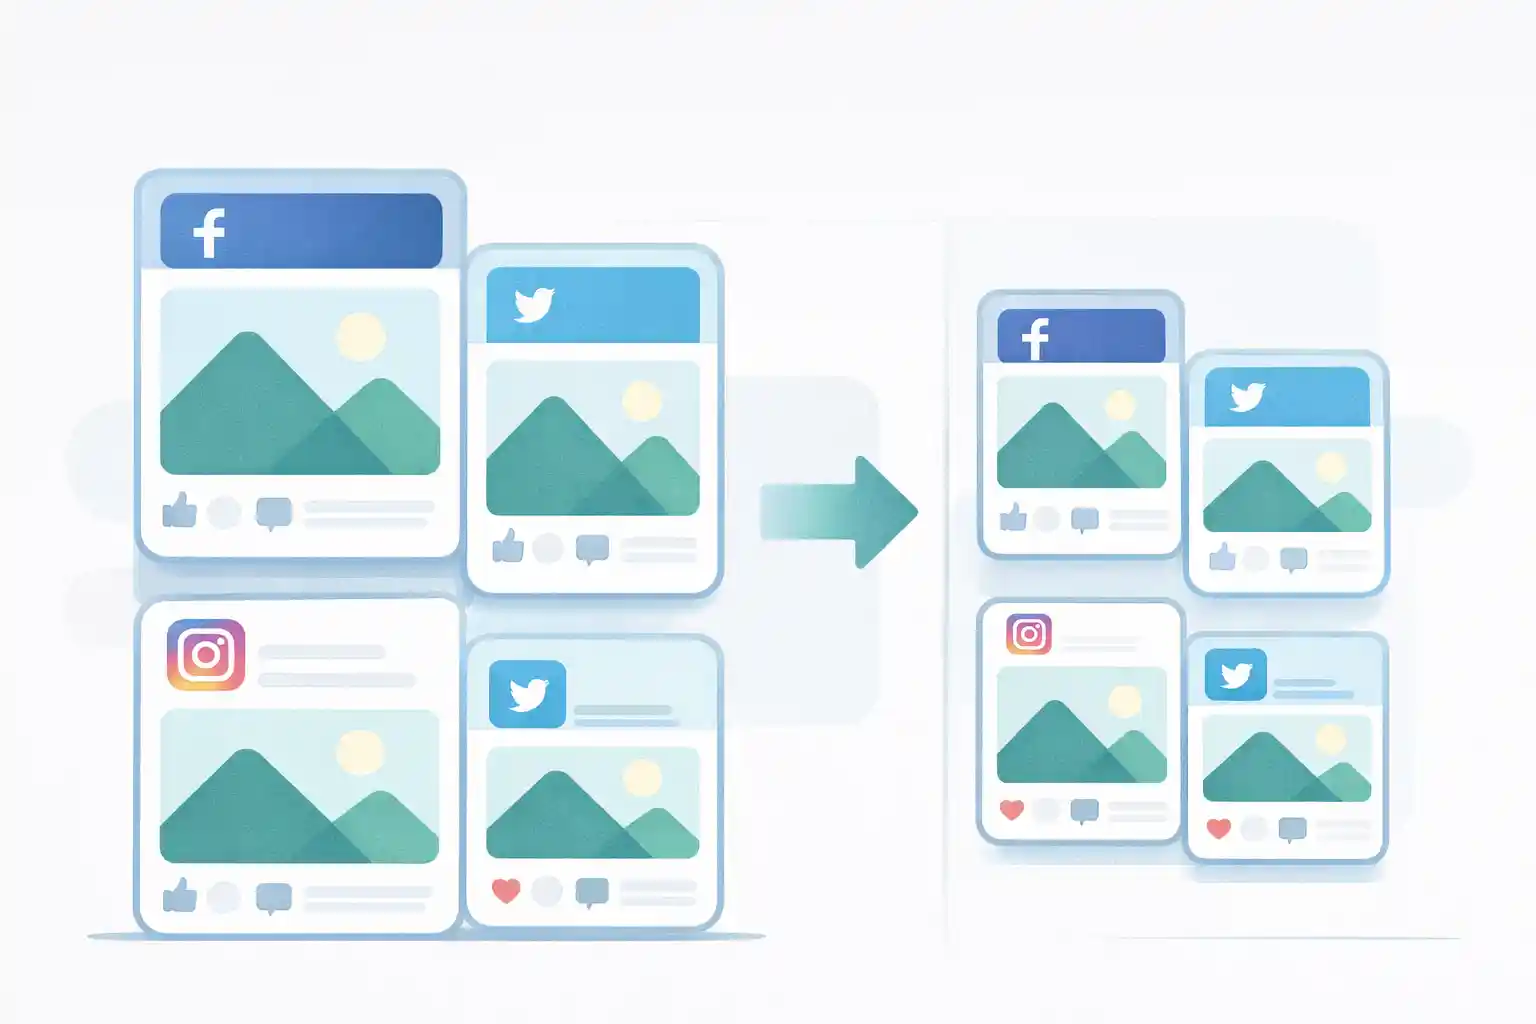
Social share image. Platforms crop aggressively and inconsistently. Build a dedicated 1200×630 version with the title text well inside the center — never near the edges, which get trimmed on mobile previews.
Metadata cleanup. If any image in the post came from a camera or phone, it carries GPS coordinates and device details. Strip the EXIF data before publishing. This matters most for personal and family stories, where the photo location is often someone's home.
Attribution watermark. Story illustrations get reposted without credit constantly. Add a light watermark in a corner — subtle enough not to fight the art, present enough that a screenshot still traces back to you.
A Realistic Time Budget
For a 1,500-word illustrated story with four images:
| Stage | Time |
|---|---|
| Draft and revise the story | 20–30 min |
| Generate and select illustrations | 20–40 min |
| Resize and crop to spec | 5 min |
| Compress and convert | 5 min |
| Social assets and metadata | 5 min |
The writing and art direction stay creative work. Everything below the line is mechanical, batchable, and should never take more than fifteen minutes total.
Frequently Asked Questions
How long should an illustrated story post be?
For web reading, 800–2,000 words with an illustration roughly every 400 words. Longer than that and scroll depth drops sharply regardless of quality.
Can I publish AI-generated stories commercially?
Rules vary by platform and jurisdiction, and they've been moving. Check the terms of the tool you used — most story generators, Story AI included, grant you rights to what you generate, but disclosure requirements on the publishing side are a separate question worth confirming per platform.
How many illustrations does a story need?
Fewer than you'd think. Three strong images beat eight mediocre ones, and each additional image is more weight on the page. Illustrate the turning points, not every scene.
Should illustrations be WebP or PNG?
WebP for anything photographic or painterly. PNG for flat color, line art, and anything with sharp text. When unsure, run both and compare — the file size difference is usually decisive.
Does compression hurt illustration quality?
Not at these targets. A 1200px illustration compressed to 200 KB is visually indistinguishable from the original at normal reading distance. The visible degradation people remember comes from compressing already compressed images repeatedly — always start from your highest-quality source.
The Short Version
- Draft first — write the complete story with Story AI before choosing a single image
- Mark illustration points as the story takes shape, not after
- Normalize dimensions with resize and crop so nothing shifts on load
- Compress to role-appropriate targets — 200 KB for full-width, 100 KB for inline
- Convert to WebP for another 25–35% off
- Clean metadata and watermark before the post leaves your hands
The story is the hard part, and AI has made it fast. Make sure the last fifteen minutes of image work doesn't undo that.