Make one picture that someone can actually read
People combine images for very different reasons. A reimbursement form has room for one attachment. A customer wants to see two finishes beside each other. A support engineer needs the error message and the settings that produced it. The layout should make that particular comparison easy on the person receiving the file.
Put the pictures in the order the reader should encounter them. Use a vertical arrangement when the story continues from one screenshot into the next. Use a horizontal arrangement when the reader needs to compare the same detail in two objects. Look at the preview before choosing an output format.
Put the reader's screen in the picture
A wide strip of four phone screenshots can be unreadable on another phone. The recipient has to zoom and pan before they can see a single line. A vertical arrangement often preserves a comfortable reading width. On a desktop presentation, two versions side by side may save the audience from switching slides.
A quick legibility test
Shrink the preview until it is roughly the width of the place where it will appear. Can you read the price, distinguish the error message or see the difference between the two finishes? Adjust direction or alignment before exporting. Adding more pixels alone cannot fix a layout that asks the reader to look in the wrong place.
Combine images side by side
Start with horizontal layout for a before-and-after, product comparison or pair of diagrams. The first picture appears on the left. Reorder the images by dragging their handles or using the move buttons. The downloaded image follows the same order you see in the preview.
Decide whether the subjects should match in height
Original-size mode keeps the pixels from each picture. The tallest input determines the canvas height. A shorter picture can sit at the top, center or bottom of its space. Top alignment is useful for comparing menu headings. Bottom alignment can make two products photographed on a shelf feel grounded.
Equal-height mode scales taller images down to the height of the shortest one, preserving their shape. This works well for product shots with similar framing. A short image with too much background will make the other subject appear small. Crop its empty space first and inspect the new comparison before saving.
Work out the final width
With original-size images of 400 by 300 and 200 by 100 pixels, a ten-pixel gap creates a 610 by 300 picture. The width includes both inputs and one gap. The shorter image still uses its own 200 by 100 pixels; the selected background fills the space above or below it.
Why the seam deserves a closer look
When you combine images with similar backgrounds, a narrow neutral gap makes it obvious where one photograph ends. For a continuous diagram, the same gap may interrupt a line. Try zero spacing and then a modest gap at actual size. Choose the version that explains the relationship between the pictures.
Stack screenshots vertically
A vertical layout joins the bottom edge of one image to the top edge of the next. Add the first part of the conversation, receipt or instruction first. Use Move up and Move down if the file picker returned the pictures in a different order. Read the entire preview from top to bottom.
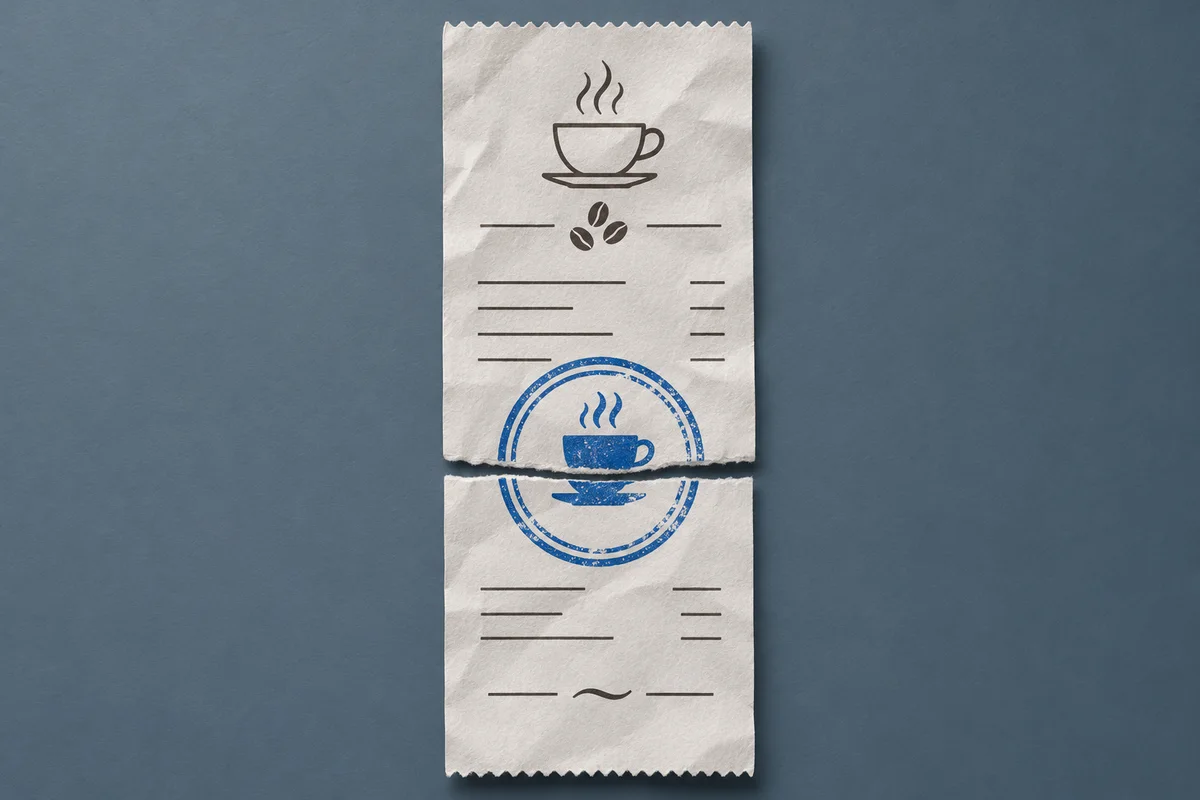
Reconstruct a two-part receipt
Use the shop heading at the top and the total at the bottom. Look for a repeated item, timestamp or stamp that appears in both photos. If the two parts overlap, crop the duplicate strip from one source before assembly. The preview can help you spot overlap; it does not automatically align two photographs of the same paper.
When the receipt edges are reasonably straight, equal width gives the reader a consistent line length. Keep a small amount of margin so digits near the edge remain visible. Check the smallest prices and the end of the last line. Those are easy to lose when a camera has caught the two halves at different distances.
Preserve reading order in a help request
For a support ticket, start with the action and finish with the error. Use a gap to separate distinct screens. If you need to remove a private detail, prepare a suitable source image before you combine images for the ticket. Inspect every panel in the finished file, including status bars and notification banners.
Choose original pixels or a common size
Original-size mode is useful for pixel art and screenshots of precise interface details. It avoids resampling individual images. Equal size is helpful when the visual comparison matters more than the original pixel grid. Neither mode changes the proportions of a person's face or the shape of a product.
Predict the height of a long image
Take the same 400 by 300 and 200 by 100 pictures and stack them with a ten-pixel gap. At original size the result is 400 pixels wide and 410 pixels tall. In equal-width mode the first picture scales to 200 by 150. The result is then 200 pixels wide and 260 pixels tall.
Look at those dimensions alongside your attachment requirements. An image with thousands of pixels of height may display well in a scrolling viewer but shrink to a narrow strip in a document preview. If that happens, keep related panels together and assemble two readable pictures for destinations that accept several attachments.
Correct a sideways photograph first
Modern phone photographs can store their intended display direction in metadata. Check each thumbnail after selection. If the subject is already sideways in the source you received, use the rotation tool before assembling the set. The final height and width calculation should use the orientation you see in the preview.
Choose PNG or JPG for the finished picture
PNG is a good starting point for screenshots, labels and diagrams with sharp edges. It can keep transparent gaps between the pieces. JPG is often useful for a row of photographs where a smaller attachment matters more than preserving crisp single-pixel lines. Choose the format the destination accepts.
Match the background to the destination
When you combine images for a website with variable backgrounds, save a transparent PNG if there are empty areas around the inputs. Put the finished result over both your light and dark page colors. A photo with a solid white background will keep that white rectangle even if the surrounding canvas is transparent.
For a JPG, choose the background deliberately. White works well for receipts and documents. A darker background can suit product photos shot against black. Zoom into the edges before saving; a pale outline around a dark subject may come from the original photograph and remain visible on the new background.
Reorder, revise and verify the download
The order of filenames on a computer is a poor guide to the order of an event. A camera may restart its numbering, or screenshots may have been sent through a chat application. Compare the preview with the account of the event that you intend to give. The move buttons are useful for precise changes on a phone.
When the canvas gets very large
Adding one more tall screenshot can push the combined canvas beyond what a device can allocate. Look at the projected width and height before exporting. If a smaller overall version is offered, check its effect on text first. Removing a duplicate screenshot sometimes saves more space while preserving all the detail you need.
Open the downloaded result by itself. Verify the filename, order and dimensions. For a receipt, read the total. For comparison pictures, check that the two products appear in the order used by the caption you will send with them. A simple reversal can make an otherwise accurate comparison misleading.
Pick a layout from the reader's next action
Before you combine images, ask what the reader must do immediately after opening the file. Someone entering the total from a long receipt needs a reading path. Someone choosing a paint finish needs equivalent areas next to one another. A screenshot sent to support often needs the settings first and the symptom second.
| Reader's task | Arrangement to try | Landmark to check |
|---|---|---|
| Read a receipt | Stack from top to bottom | Grand total after the last item |
| Compare finishes | Put samples side by side | Same visible area on each product |
| Reproduce a setting | Order screenshots by action | Control label before error message |
Check the version the reader will see
Send the finished picture to yourself through the destination form or open it in a preview of that layout. Some applications fit long pictures to the available height. The full image can appear deceptively tiny until the reader taps it. Check that the important detail is legible at a sensible zoom.
Keep revision inputs together
When you combine images for a review, keep the source pictures with their original orientation and names. If the reviewer asks for one replacement, you can rebuild in the same order. Repeatedly appending to an already compressed strip makes both alignment and quality harder to control.
Questions about joining pictures
Can I combine images without losing quality?
For static screenshots, use original pixel sizes and PNG export if the pixel grid matters. Resizing necessarily changes that grid. Repeatedly saving a photograph as JPG can also introduce changes. Keep the individual source files so you can rebuild the layout directly whenever a recipient asks for another version.
Do I need a collage template?
Two long screenshots usually need only stacking, and two product angles usually need only a shared baseline. Start with the plain arrangement and see whether the requested information is already clear. Text labels and decorative margins take space away from the pictures when the final attachment is viewed on a small screen.
Should I send a picture or a PDF?
Use a single picture when someone wants to see the pieces together on one canvas. If each original must stay on its own page for printing or scanning, use Image to PDF. Ask the recipient which kind of file their form accepts before spending time formatting a long set of evidence.
How do I change only one panel later?
Keep the original files and a note of their order, alignment and spacing. Replace the changed source and rebuild the combined image. Cropping a panel out of the exported composite and editing it in place is much harder when it has already been resized or compressed for the first delivery.